
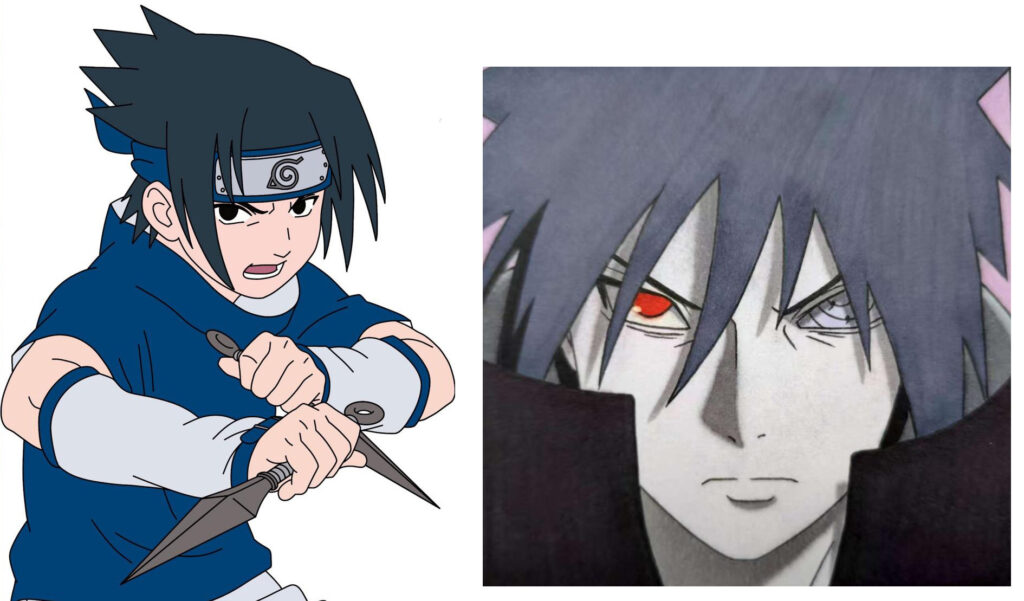
Want to learn how to draw Sasuke Uchiha? In this step-by-step drawing tutorial, you will discover how to draw Sasuke with spiky hair, expressive eyes, a dynamic fighting pose, and a kunai weapon.
How to Draw Sasuke Uchiha – 2 Easy Ways For Beginner
1. How to Draw Sasuke with a Kunai
Step 1: Begin by sketching the lower shape of the character’s face. Use light pencil strokes to create the chin and jawline.
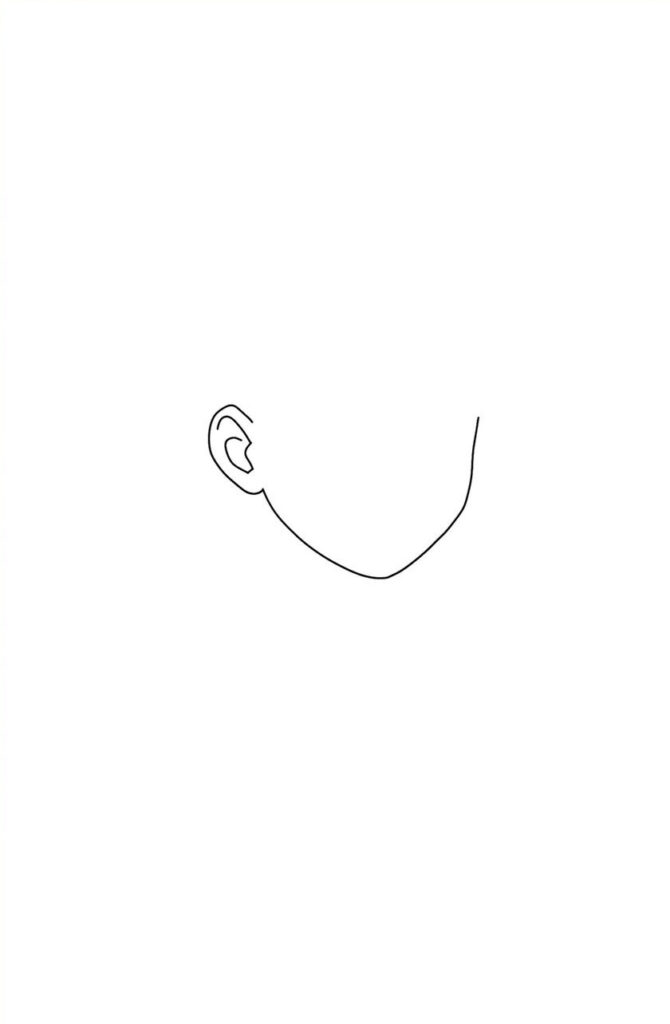
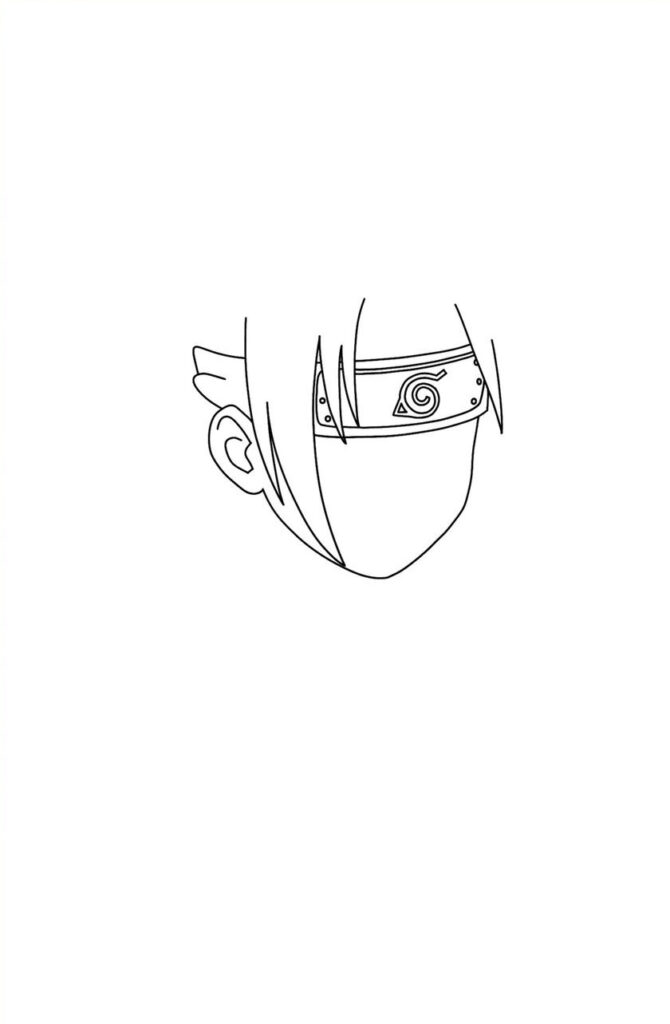
Step 2: Draw the character’s ears on both sides of the head. Next, sketch the forehead protector and its basic shape.
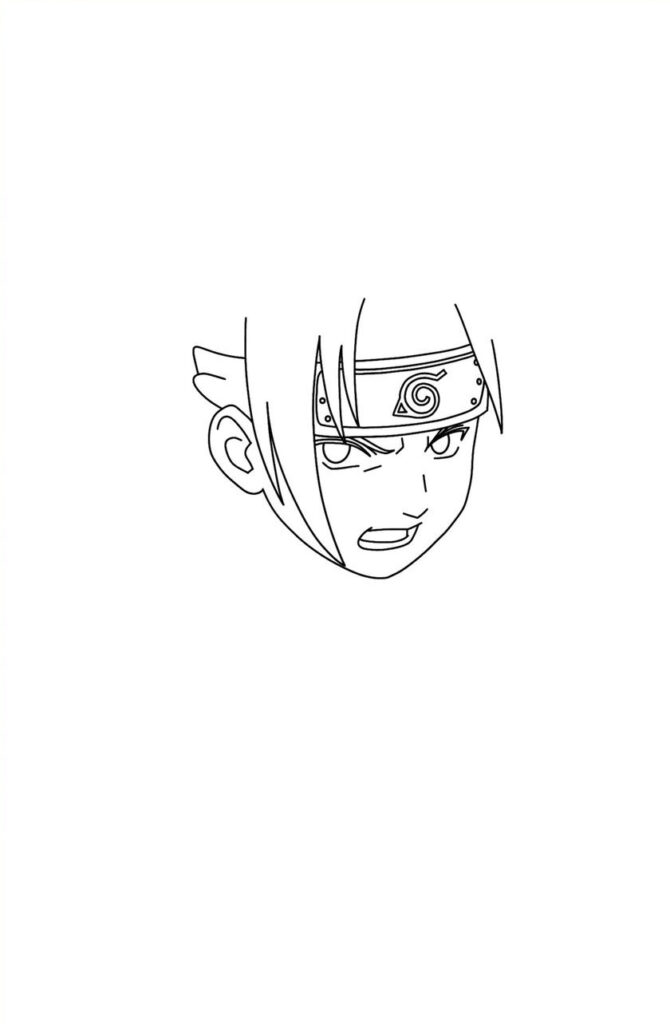
Step 3: Carefully sketch the anime-style eyes, including the upper and lower eyelids, pupils, and eyebrows. Focus on creating a sharp and determined expression that gives the character a confident ninja appearance.
Add the nose, mouth, and remaining facial details. Refine the eye shapes and adjust the facial expression to make the character look focused and ready for action.
Step 4: Start drawing the hair around the forehead and sides of the head. Use sharp, pointed strokes to create distinctive anime-style spikes. Add several overlapping hair sections to give the hairstyle more volume and movement.
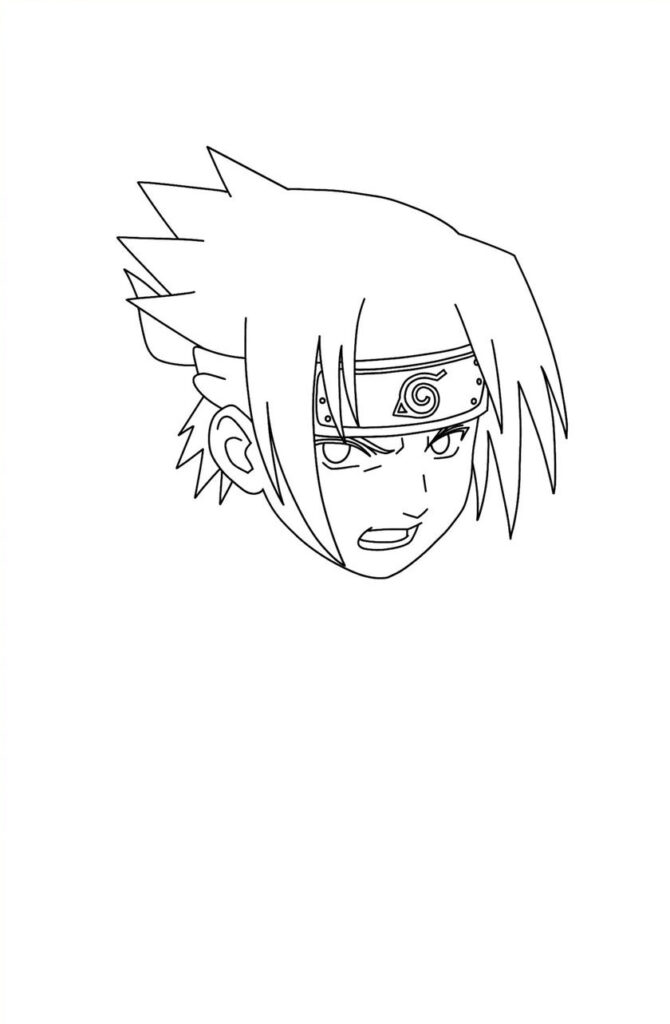
Step 5: Extend the drawing by adding the neck, shoulders, and upper body. Outline the character’s clothing, keeping the shapes simple at first. Make sure the shoulders are positioned naturally to support the action pose.
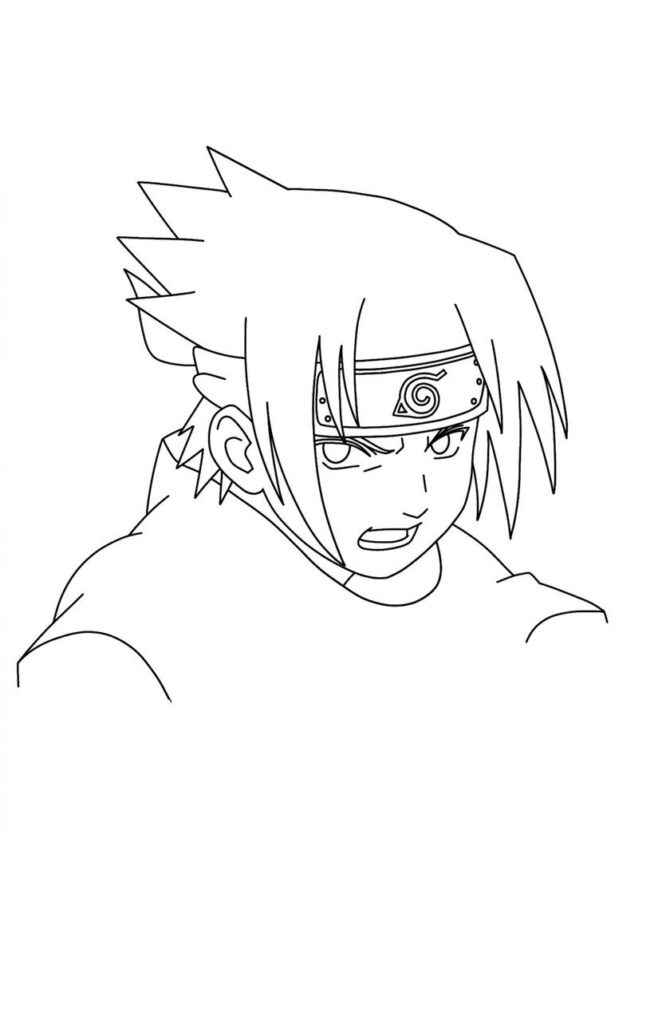
Step 6: Sketch the character’s first arm in front of the body. Pay close attention to the hand position and finger proportions. Use simple shapes to establish the arm’s direction before refining the details.
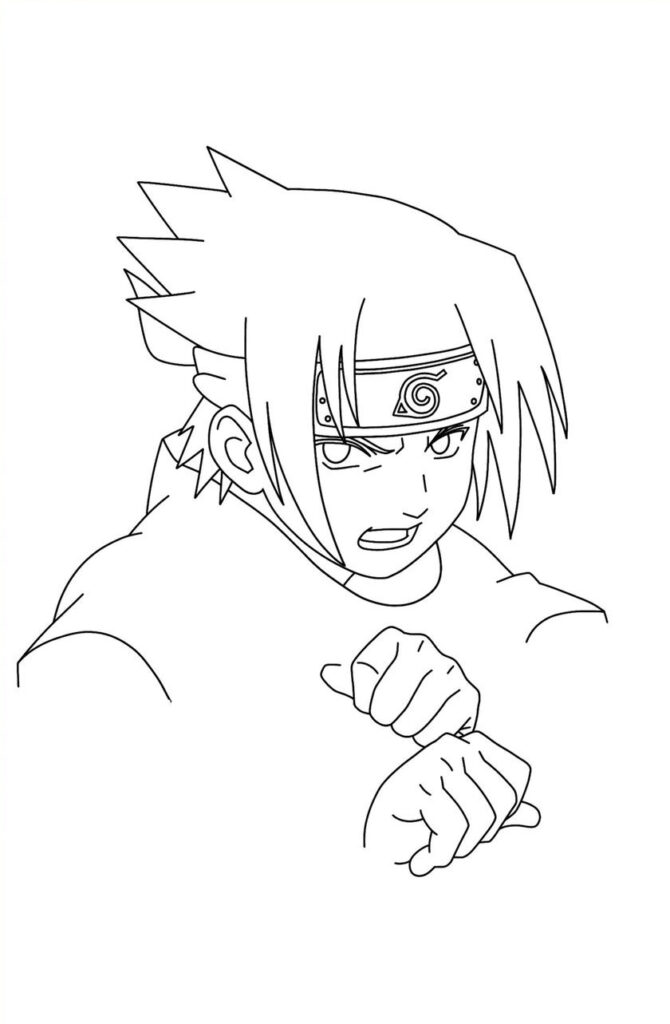
Step 7: Draw a kunai in the character’s hand. Start with the handle and then create the pointed blade. Make sure the weapon is aligned naturally with the hand to create a convincing action pose.
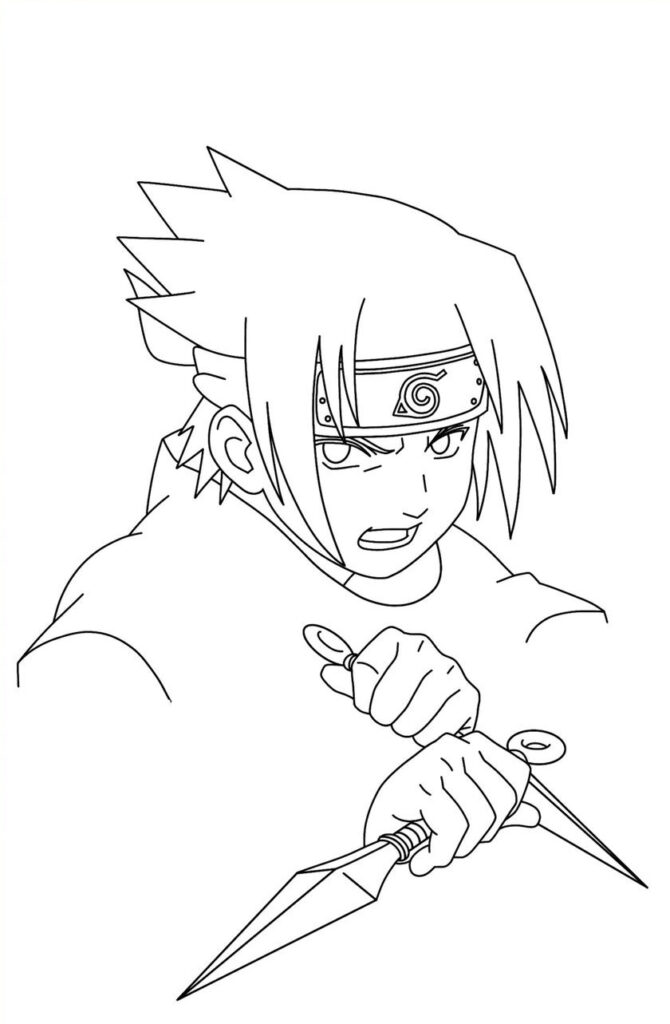
Step 8: Refine both arms and draw the remaining fingers around the kunai. Add the necessary clothing folds and sleeve outlines. Adjust the hand proportions to make the grip look natural and balanced.
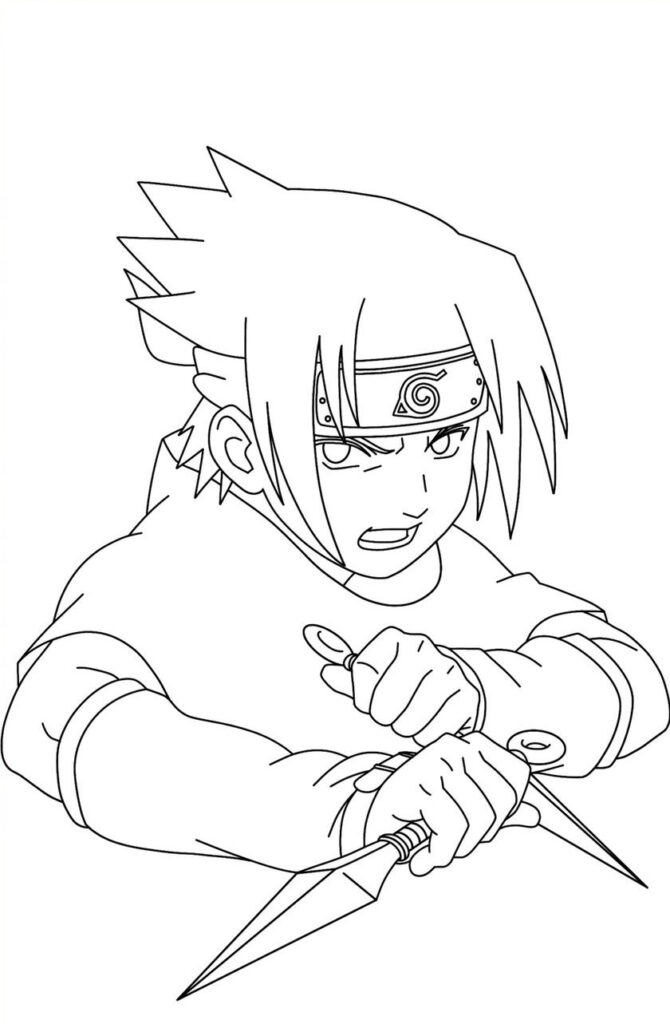
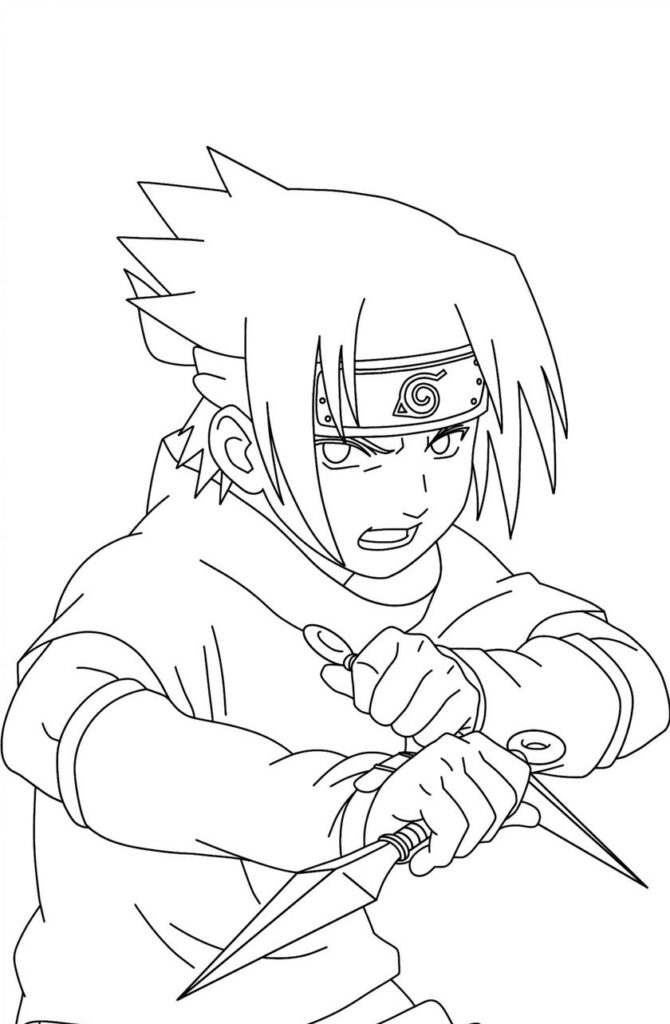
Step 9: Continue developing the upper body by adding the collar, sleeves, and additional clothing details. Clean up unnecessary sketch lines and strengthen the final outlines to make the illustration look more polished.
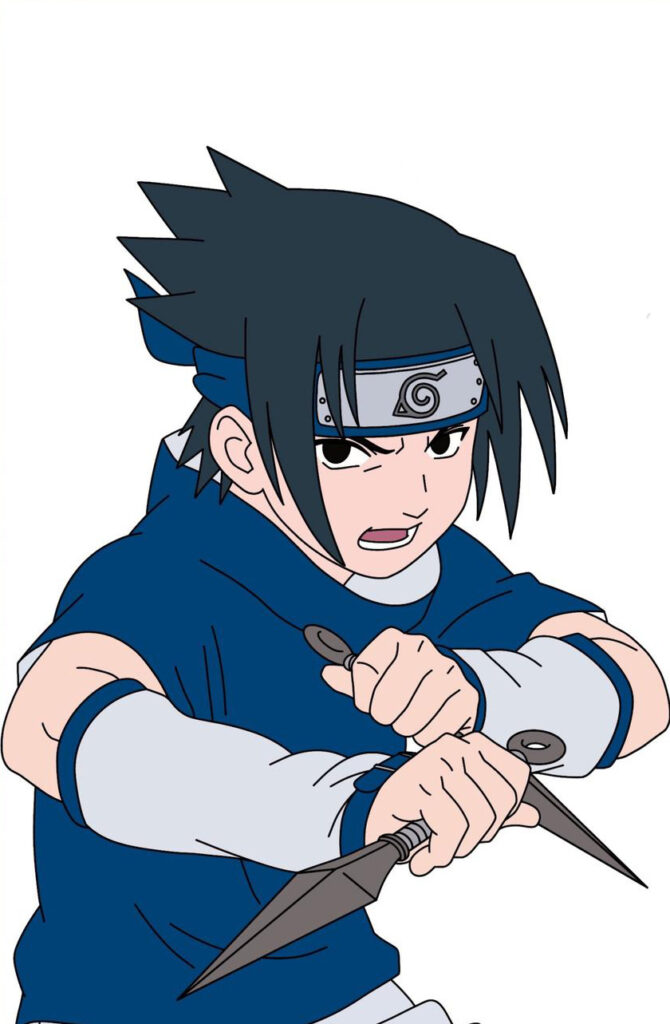
Step 11: Finally, bring the character to life with color. Use dark blue for the hair and outfit, lighter blue and gray for the sleeves, and natural skin tones for the face and hands. Add shadows and highlights to create depth and dimension. Finish by coloring the kunai and adding small details to complete the artwork.
2. How to Draw Sasuke with Black Spiky Hair
Step 1: Start by drawing a square frame to establish the composition of your anime portrait. Add horizontal and vertical guidelines to help position the character’s face and hair. Lightly sketch a few pointed lines at the top to indicate the direction of the hairstyle.
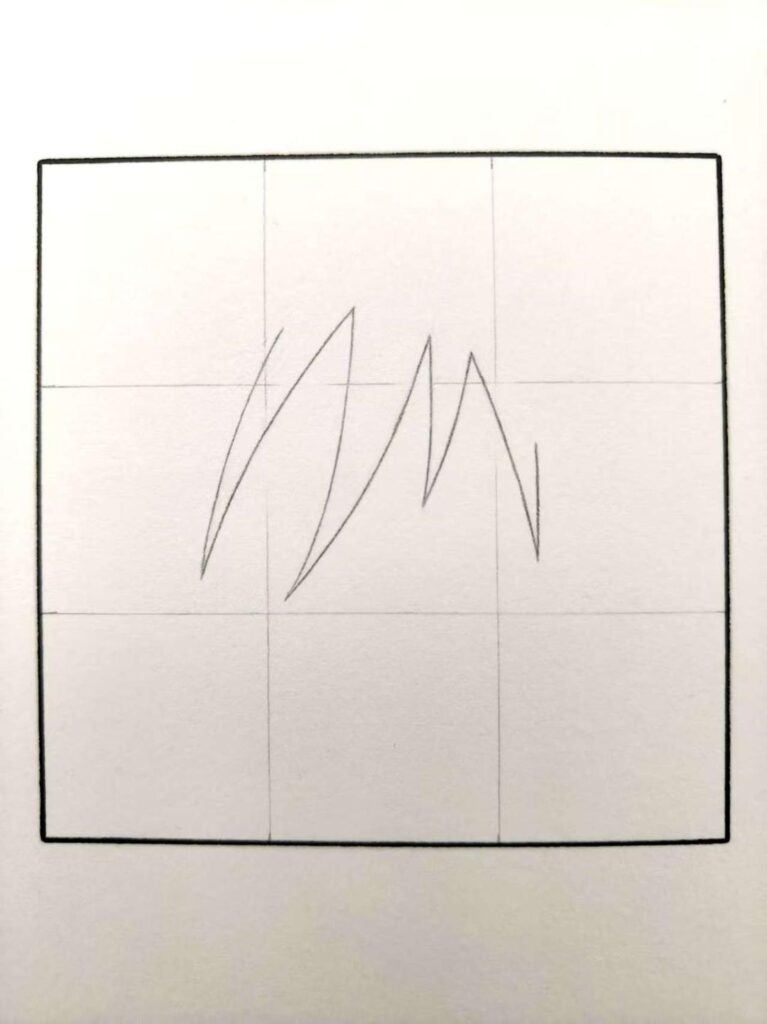
Step 2: Begin developing the character’s hairstyle by drawing several long, sharp hair strands across the forehead. Create additional pointed sections along both sides of the head. Keep the spikes uneven and layered to achieve a natural anime appearance.
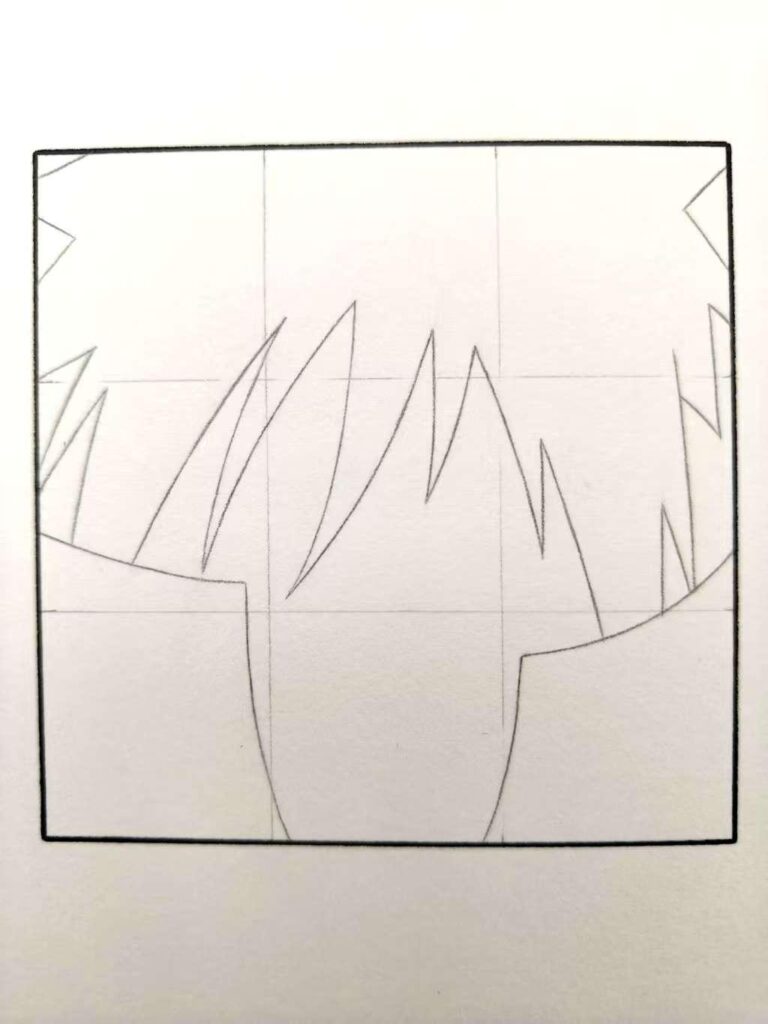
Step 3: Refine the outer hairstyle and draw the lower part of the face. Add the jawline, chin, and neck while adjusting the hair around the cheeks. Sketch the high collar of the character’s outfit to complete the basic portrait composition.
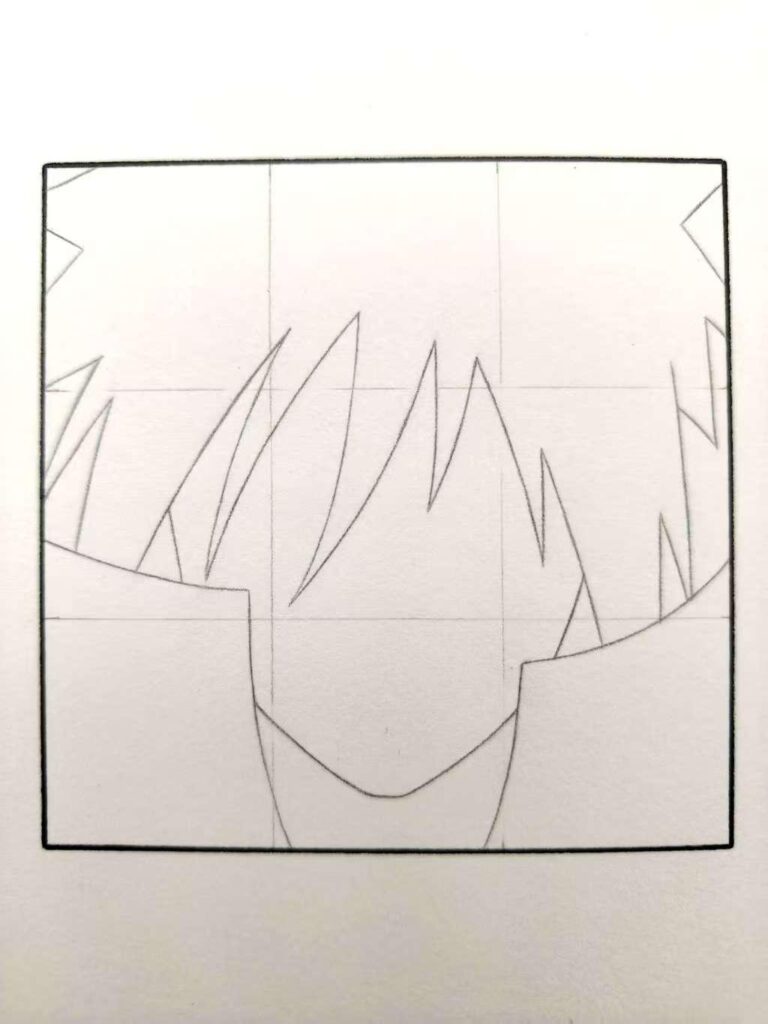
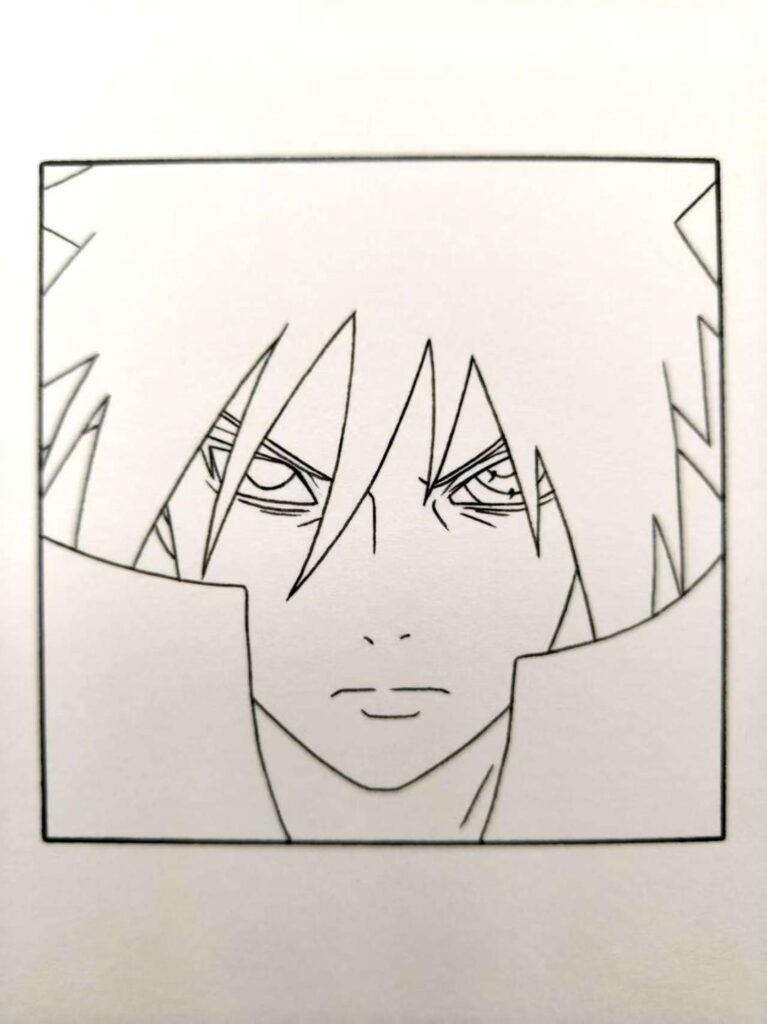
Step 4: Draw the Eyes and Facial Features
Step 5: Add Shadows to the Face and Hair
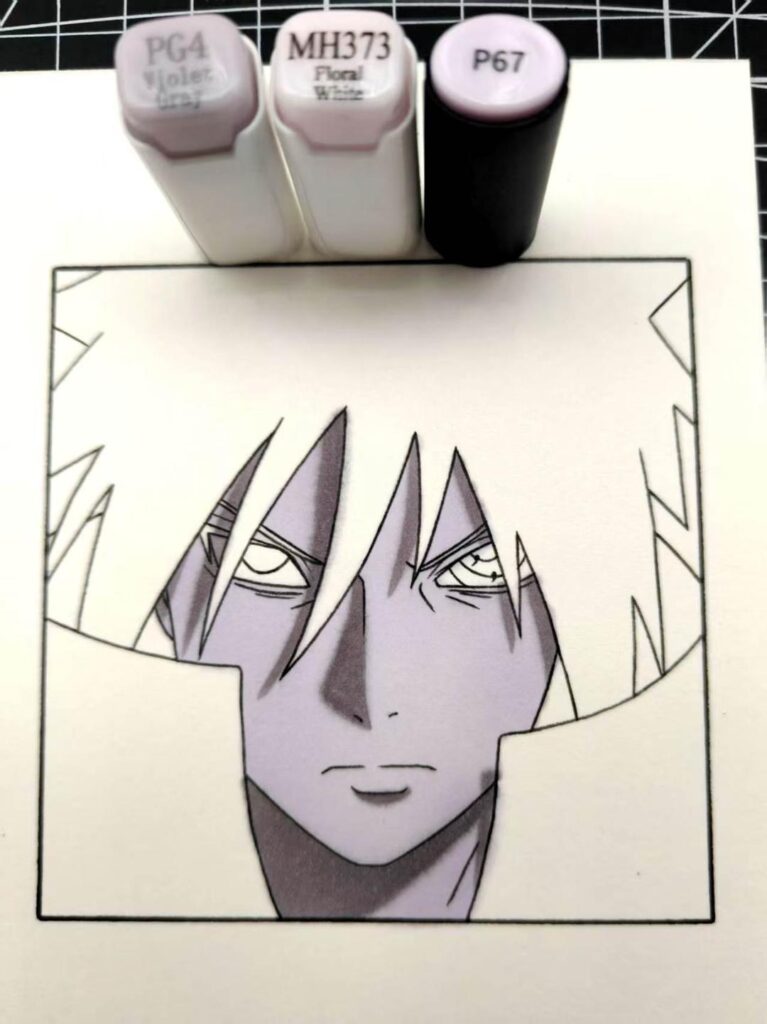
Step 6: Add the Eye Colors and Clothing
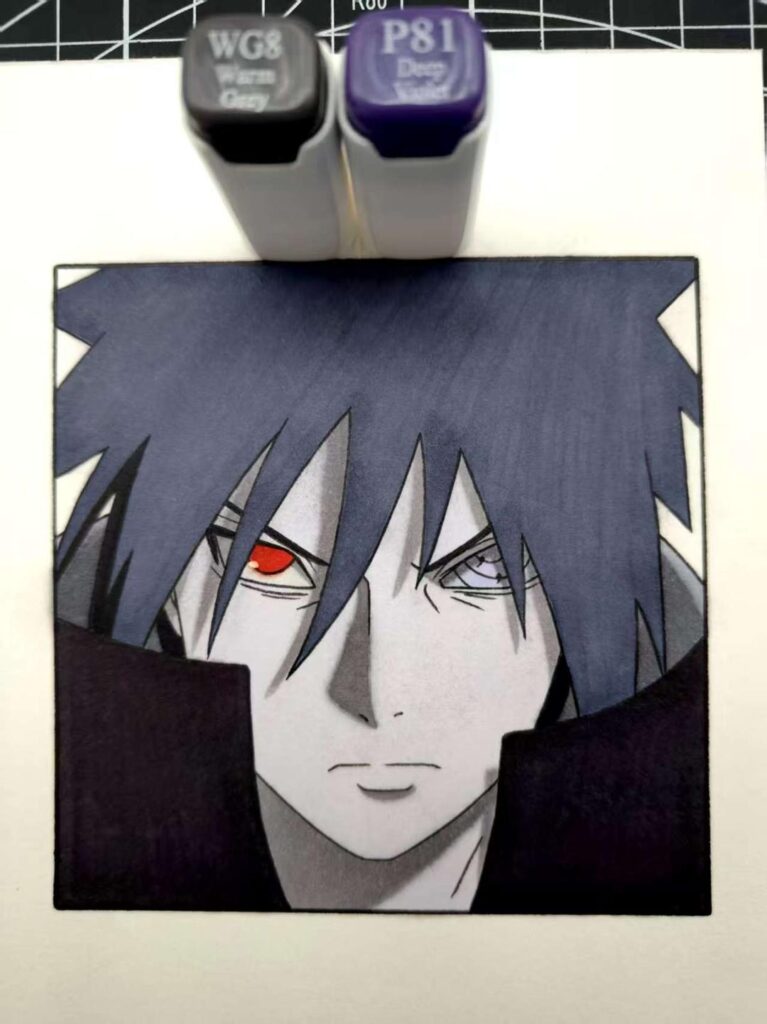
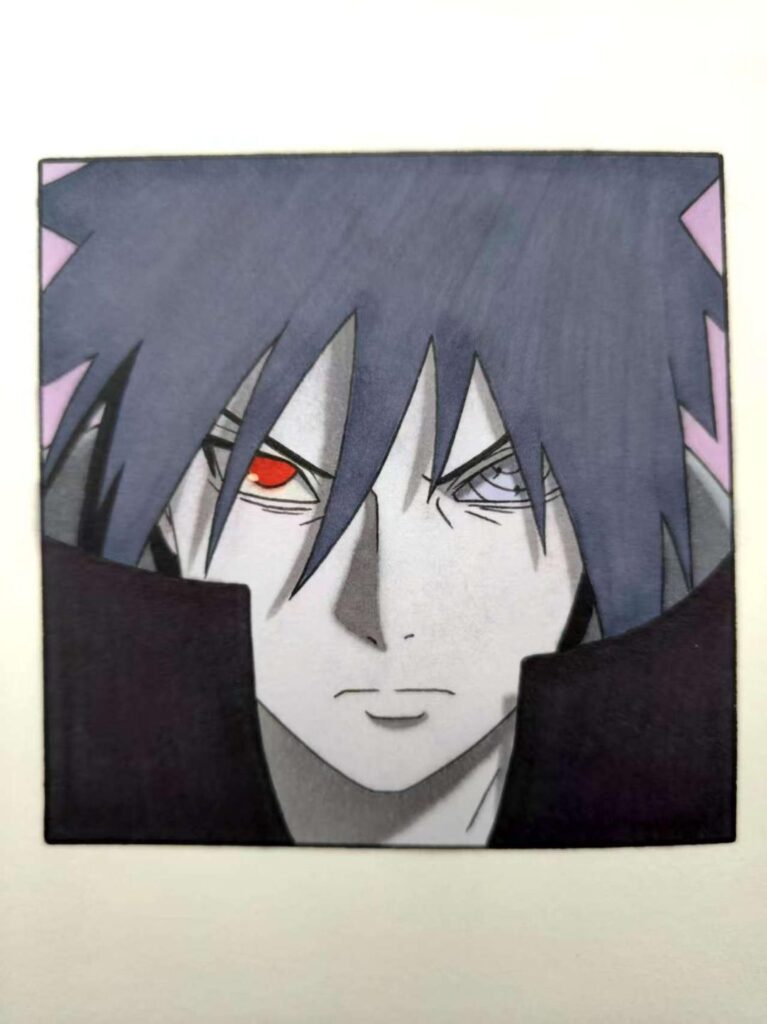
Step 7: Complete the illustration by refining the facial details, adjusting the shadows, and strengthening the contrast between light and dark areas


Leave a Reply